Related products
-
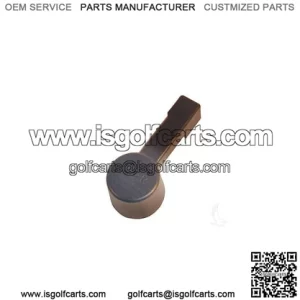
Golf Cart Electric Performance Parts
Yamaha Drive G11-G22 1994+ Forward Reverse Handle
-
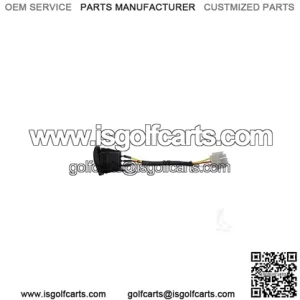
Golf Cart Electric Performance Parts
Forward Reverse Without Handle Switch Yamaha G19 G22 48V Electric 1996+
-
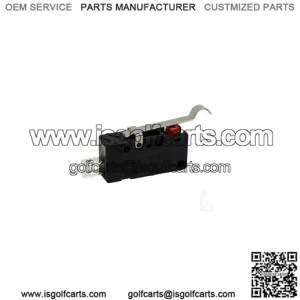
Golf Cart Electric Performance Parts
Limit Switch Single Forward Reverse EZGO Gas 2002+
-
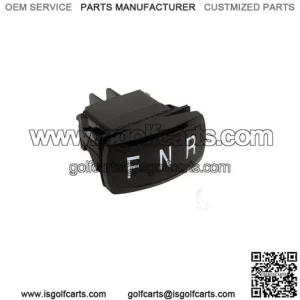
Golf Cart Electric Performance Parts
EZGO TXT 48V 2014+ Forward Reverse Switch Assembly