Related products
-
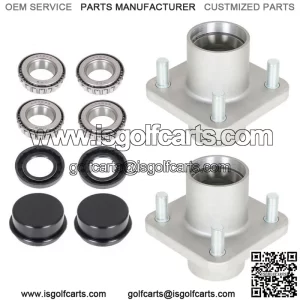
Golf Cart Wheels and Tires and rim
Golf Cart Front Hub Assembly Wheel Hubs For EZGO TXT/ Medalist G&E 1976-2001.5
-
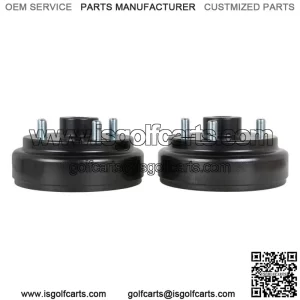
Golf Cart Wheels and Tires and rim
2X Rear Wheel Brake Hub Drum 30 Teeth for EZGO TXT 4 Cycle Golf Cart 91+ RXV 09+
-
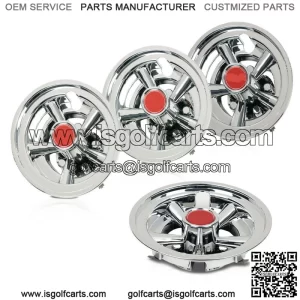
Golf Cart Wheels and Tires and rim
8 Inch Golf Cart Wheel Covers Hub Caps Fit For EZGO Club Car Yamaha,Set of 4pcs
-
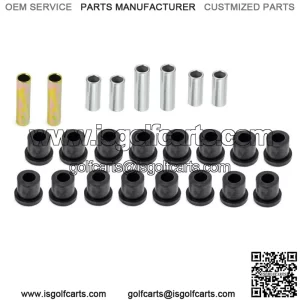
Golf Cart Wheels and Tires and rim
Front Upper A Arm Suspension Bushing Kit & Front Lower Spring For Club Car DS