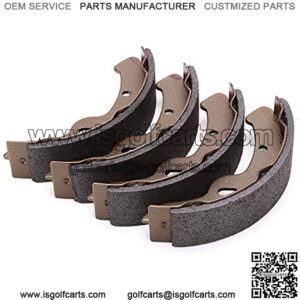
- Access the Brake Assemblies:
- Locate the rear wheels and remove the hubcaps if present.
- Depending on your golf cart model, you might need to remove the wheel to access the brake components.
- Remove the Old Brake Shoes:
- Locate the brake drum attached to the wheel hub.
- Carefully remove the brake drum by sliding it off the wheel hub.
- Inside the brake drum, you’ll see the brake shoes, springs, and other components.
- Take a photo or make a diagram of the brake shoe arrangement and how the springs are attached. This will help during reassembly.
- Remove the brake shoe retaining springs, pins, or clips using the appropriate tools. Keep track of the order and orientation of these components.
- Install the New Brake Shoes:
- Clean the brake drum, brake shoe surfaces, and other components using brake cleaner or solvent.
- Attach the new brake shoes to the brake backing plate in the same arrangement as the old ones. Use your diagram or photo for reference.
- Reattach the brake shoe retaining springs, pins, or clips. This might require a brake adjusting tool to stretch the springs and secure them in place.
- Reassemble the Brake Drum:
- Slide the brake drum back onto the wheel hub over the new brake shoes.
- If the brake drum has an adjustment hole, you can use a brake adjusting tool to adjust the brake shoes to the correct clearance. Consult your golf cart’s manual for specific adjustment procedures.
- Lower the Golf Cart:
- Carefully remove the jack stands and lower the golf cart back to the ground.
how to change yamaha golf cart brake shoes
how to adjust brake shoes on ezgo golf cart

