Every EZ-GO golf cart comes equipped with one of two kinds of speed controllers, a precision drive system or a drive control system.
All modern golf carts (Including any cart that is sold by Garrett’s) use the precision drive system or PDS, whereas older carts made before 1994 will use a drive control system.
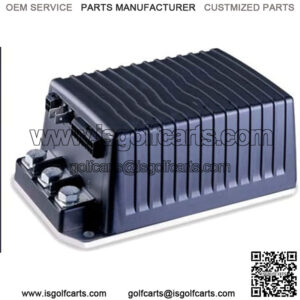
These devices control the acceleration and overall speed of the golf cart, so when they’re not working properly it’s important to know what to do.
When your golf cart’s speed controller isn’t operating correctly, your cart will show it by running erratically or failing to drive at one constant speed. If your cart starts showing these symptoms, the first thing you should look at is your speed controller.
Here are 5 steps you should follow for a DIY fix to your golf cart’s speed controller.
Flip the maintenance switch
All EZ-GO speed controllers are equipped with a maintenance switch that needs to be flipped before you begin work on repairing the problem. You will likely find the switch under the seat of your golf car,t but if you’re having trouble finding it, consult your owner’s manual.
Once you find the switch, flip it to tow-maintenance mode.
Reset the battery cable
Unplug the negative battery cable (the black wire) before beginning any work on the speed controller. Once disconnected, you should remove the speed controller cover and then reconnect the negative cable.
Check your connections
Check out all the wires and make sure the connections are firm. Sometimes the problem can be as simple as some loose wiring and all you need to do is make sure everything is plugged in tight.
Also check for any breaks or corrosion in your wires that signify it may be time to replace them. Lastly, you can check the voltage of the controller battery by connecting both the positive and negative probes to the battery.
Test the solenoid
In a golf cart, the solenoid is the electrical switch that allows power from the battery to travel to the starter. If there is an issue with your cart’s solenoid, some of the symptoms can be the same as a malfunctioning speed controller.
To test your cart’s solenoid, you’ll want to take a reading of the voltage and compare it to the reading you got off your battery. Attach the positive probe to the solenoid post nearest the battery and get the reading. If the solenoid and battery readings are identical, there is an issue with the solenoid. However, if the reading isn’t at least 3 volts less than the battery, the problem is with the resistor and it should be replaced.
Check your controller’s power output
The last step you should take is to get a reading on your speed controller’s power output. In order to do this, you’ll connect the negative probe to the M terminal and the positive probe to the B+ terminal.
The reading should start at 0 and increase to the same level as the battery voltage as you press down on your accelerator. The two possible problems you can identify this way is either a bad speed controller, or a bad directional switch or motor.
If the motor on your golf cart doesn’t turn, the problem is probably the directional switch/motor, but if there is no voltage at all on your reading, you’ll need to replace your speed controller.
“Keyword”
“what does a speed controller do on a golf cart”
“how does a golf cart controller work”
“diy golf cart speed controller”
“golf cart speed controller location”