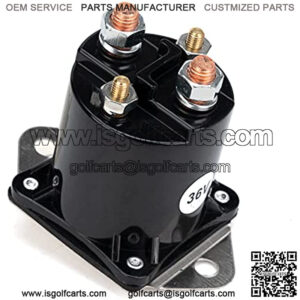
Follow These Simple Steps to Check the Solenoid
1. You will need a couple of tools: a voltmeter or multimeter, and (typically) a ½” wrench.
2. Disconnect any cables from the two large terminals. Be sure to wrap the cable ends in tape, and keep the ends separate from each other.
3. With the key off, and the cart direction switch in a neutral position, set your voltmeter to ohms, and place a probe on each large terminal (see first image below). There should be no reading.
4. Now, with the cart’s direction switched to the forward position, and the key on, step on the accelerator. You should hear a click coming from the solenoid. If you do. . .
5. Set your voltmeter to measure ohms, and place a probe on each large terminal (see image below). You should have a reading of 0 to 0.4 ohms. Anything higher, and means that the solenoid has faulty contacts and should be replaced.
6. If you did not hear a click coming from your solenoid, then grab your voltmeter and set it to DC volts on the 200 scale, and place a probe on each of the small terminals.
- If the voltmeter shows full battery voltage, and there is no click, the coil inside the solenoid has failed and will need to be replaced.
- If your voltmeter remains at 0, then there is a problem somewhere else in the cart.
“Keyword”
“how to test a solenoid on a ezgo golf cart”
“how to bench test a golf cart solenoid”
“how to test solenoid ezgo gas golf cart”
“how to test my golf cart solenoid”
“how to test solenoid on ez go golf cart”

