1.
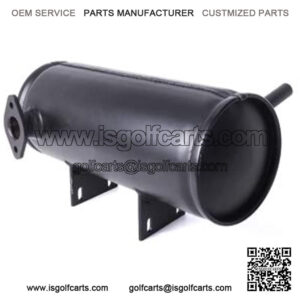
- Jack up your vehicle so you can slide underneath. Make sure your car is on level ground, your parking brake is up, and you’ve blocked your wheels, ensuring that your car won’t roll away. Locate your muffler, which is usually toward the rear of the car, and assess the situation.
- You want to see if the pipes are bolted or clamped together and how rusted they are.
2.
- Remove the clamps or bolts with your wrench or ratchet. Make sure to keep the clamps or bolts so you can use them when you’re installing your new muffler. Also, it’s important to hold up the muffler when you remove the bolts or clamps so the muffler doesn’t fall and injure you.
- You want to have at least 2 inches of pipe on either side that will fit into your new muffler. If you fail to have this overlap, there’s a good chance of leakage, and you’ll have to replace your muffler again.
3.
- You’re now ready to install your new muffler by slipping it into position. Pay attention to the indications on your new muffler to determine which side is the front and which side is the back. When slipping the new muffler into place, see if the pipe connections are as tight as they can possibly be. To reduce rattling, positioning the pipes properly before clamping or bolting them into place is a must.
- When bolting or clamping your new muffler into place, make sure the muffler is tight against the car’s underbody and not hanging low to the ground.
4.
- With your new muffler in place, you can test to see if you’ve replaced it properly. Start your car and drive it around a little bit and listen for any obnoxious noises or rattling coming from under your car. If these sounds do arise, you may need to further tighten your clamps and bolts or make sure that your pipe connectors fit correctly.
- It’s also important to check for leaks, and if you find any, take the same steps to fix the problem.

